Introducing Seam CLI
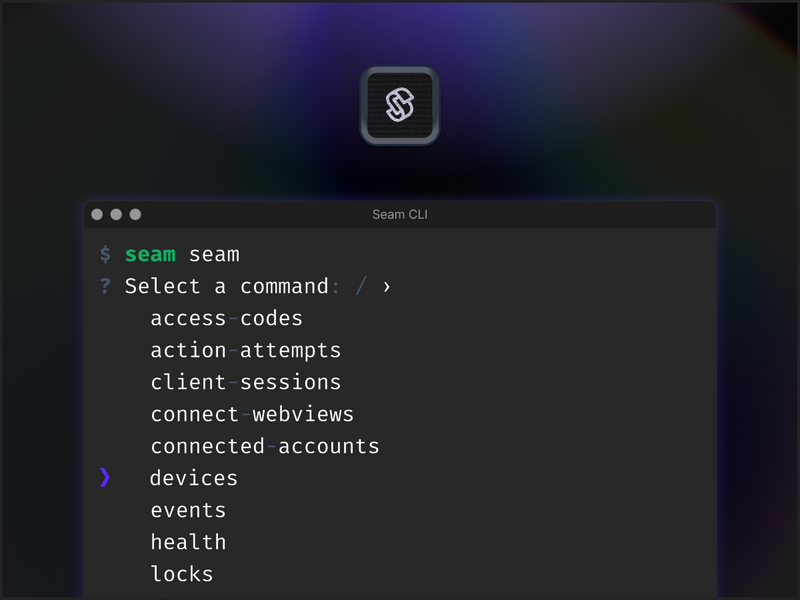
Today we’re thrilled to announce the release of our brand new seam-cli client. This command line utility lets you control Seam resources (devices, workspaces, and more) directly inside your terminal or a web browser. We’re also making the CLI available inside a web browser with a ready-to-go environment inside console.seam.co.
Using Seam CLI
You can head over to console.seam.co and click “Online CLI” in the left navigation to try the Seam CLI entirely inside your browser. Alternatively, you can install it on your system via npm:
1npm install -g seam-cli
Note that you will also need a Personal Access Token (”PAT”) to access all the various workspaces and resources available to your user. You can read on how to generate a PAT in the Seam Console here.
Control Any Resource
The Seam CLI lets you create connect webviews, retrieve devices, program access codes, set thermostat temperature, and pretty much anything else already supported via the Seam API.
Ease of Use
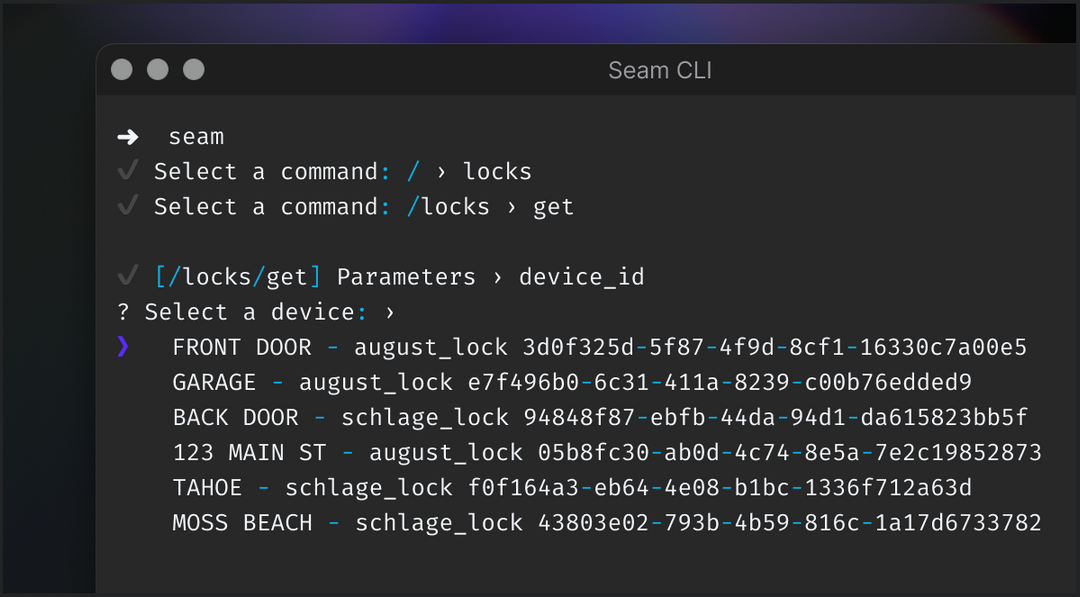
Importantly, this CLI is intended to be dead simple to use. It comes with an awesome action discovery UI and bakes in sensible defaults to quickly execute any commands. Of course, you can always specify arguments if you need to, and it will, at times, automatically surface options for you such as your list of devices and their device_id if ever that’s an argument you need to pass to a specific endpoint. No more having to look up the device id in the console and then having to paste it in.
Exploring Available Commands
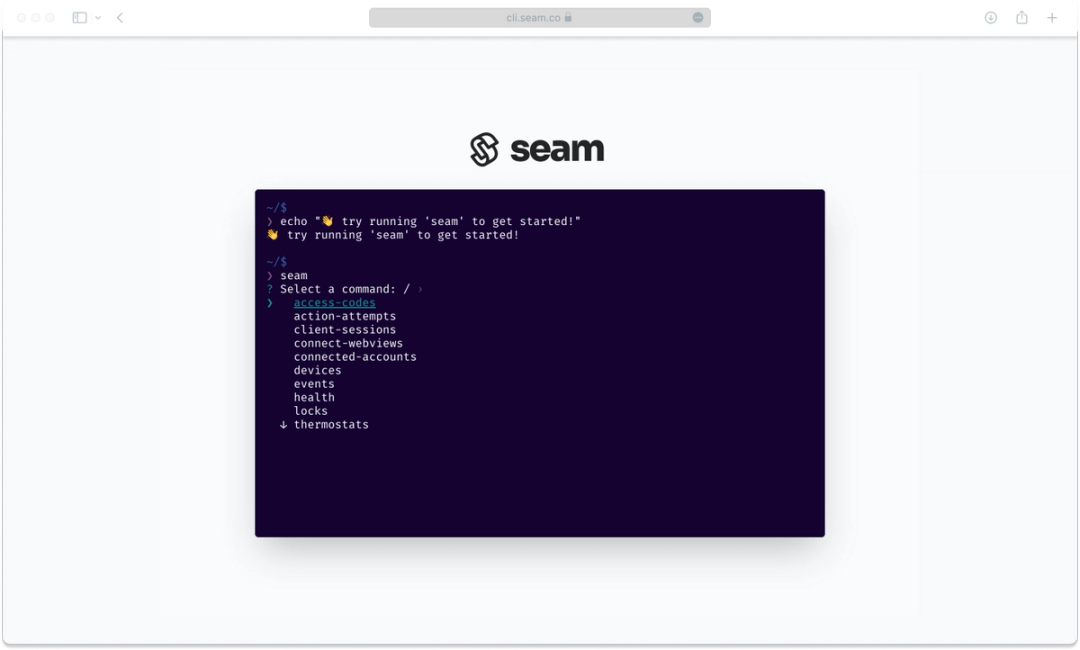
The Seam CLI supports all the functions of the Seam API. For example, after login in and selecting a workspace, you can simply invoke seam to get a list of all the available commands. Use your keyboard arrows to then select a command.
1➜  seam seam
2? Select a command: / ›
3❯   access-codes
4    action-attempts
5    client-sessions
6    connect-webviews
7    connected-accounts
8    devices
9    events
10    health
11    locks
12  ↓ thermostats
You can then press enter to select one. You’ll then be prompted for additional info or can simply select default parameters. Next, we present a few examples of functions you can perform.
Connecting a Device
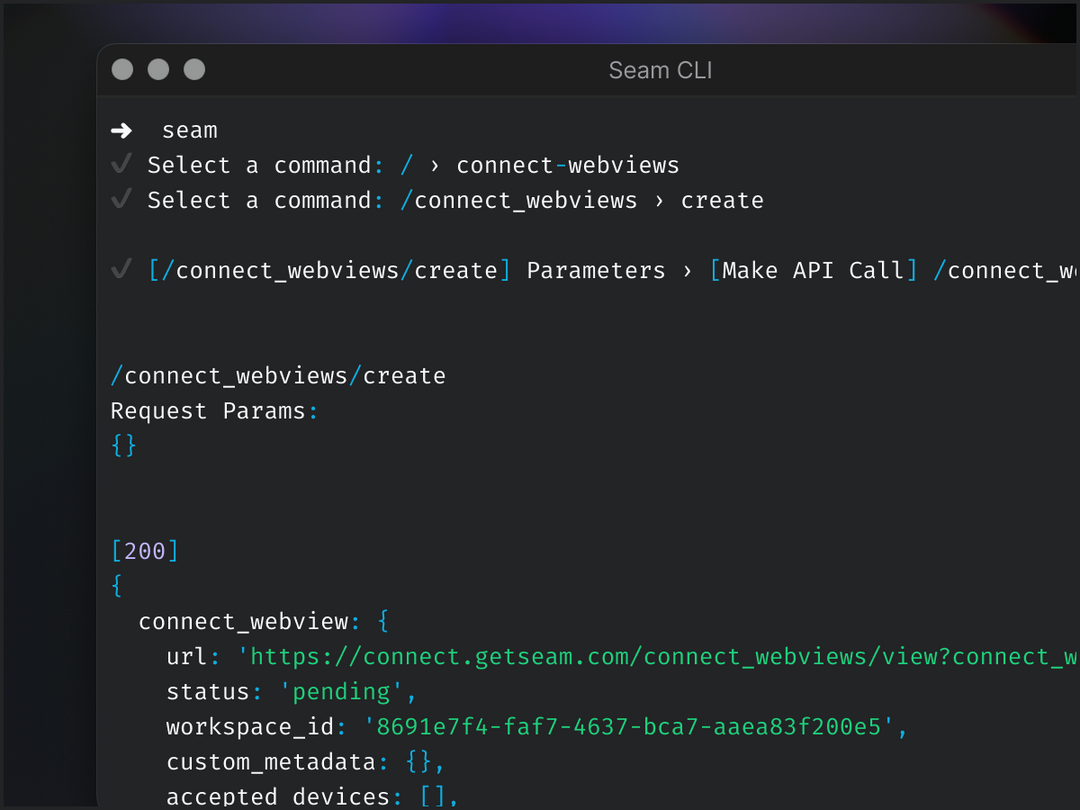
To connect a device, you can run seam connect-webviews create (or select it from the list of options when invoking just seam), and you can then just run the command with default arguments. This will return a connect webview you can use to link a new device account with your selected workspace.
1➜  ~ seam connect-webviews create
2
3? [/connect_webviews/create] Parameters ›
4❯   [Make API Call] /connect_webviews/create
5    device_selection_mode
6    custom_redirect_url
7    custom_redirect_failure_url
8    accepted_providers
9    provider_category
10    custom_metadata
11    automatically_manage_new_devices
12    wait_for_device_creation
13
14...
15
16/connect_webviews/create
17Request Params:
18{}
19
20[200]
21{
22  connect_webview: {
23    url: 'https://connect.getseam.com/connect_webviews/view?connect_webview_id=3a966edd-9b46-41c1-a330-b899891b943e&auth_token=CjruEU1FABFwf1ZkpGEeVaUXvN94ugjpE',
24    status: 'pending',
25    workspace_id: '8691e7f4-faf7-4637-bca7-aaea83f200e5',
26    custom_metadata: {},
27    accepted_devices: [],
28    login_successful: false,
29    selected_provider: null,
30    accepted_providers: [
31      'august',            'avigilon_alta',
32      'brivo',             'schlage',
33      'smartthings',       'yale',
34      'nuki',              'salto',
35      'controlbyweb',      'minut',
36      'my_2n',             'kwikset',
37      'ttlock',            'noiseaware',
38      'igloohome',         'ecobee',
39      'hubitat',           'four_suites',
40      'dormakaba_oracode', 'lockly',
41      'wyze',              'nest'
42    ],
43    any_device_allowed: false,
44    connect_webview_id: '3a966edd-9b46-41c1-a330-b899891b943e',
45    custom_redirect_url: null,
46    any_provider_allowed: false,
47    device_selection_mode: 'none',
48    wait_for_device_creation: false,
49    custom_redirect_failure_url: null,
50    automatically_manage_new_devices: true,
51    created_at: '2023-12-21T09:05:51.150Z',
52    authorized_at: null
53  },
54  ok: true
55}
List Devices
Once you’ve connected devices, you can immediate list them in order to view the device information such as their device_id, properties, and more.
1➜  ~ seam devices list
2
3✔ [/devices/list] Parameters › [Make API Call] /devices/list
4
5/devices/list
6Request Params:
7{}
8
9[200]
10{
11  devices: [
12    {
13      device_id: '8c87d0d7-957a-4502-9d52-ccd3dbebfa4e',
14      device_type: 'august_lock',
15      capabilities_supported: [ 'access_code', 'lock' ],
16      properties: {
17        online: false,
18        manufacturer: 'august',
19...
Unlocking a Door
To control a specific device, the CLI will ask you which device you wish to control, which is much easier than having to look up the device_id.
1➜  ~ seam
2✔ Select a command: / › locks
3✔ Select a command: /locks › unlock-door
4
5✔ [/locks/unlock_door] Parameters › device_id*
6? Select a device: ›
7❯   BACK DOOR - august_lock 8c87d0d7-957a-4502-9d52-ccd3dbebfa4e
8    FRONT DOOR - august_lock 0ac39585-4170-4038-a3b7-b965b0a80912
9    GARAGE - august_lock d1e9612c-536c-44c4-9486-a5eaf94fe75b
10
11... # selected BACK DOOR
12
13/locks/unlock_door
14Request Params:
15{ device_id: '43803e02-793b-4b59-816c-1a17d6733782' }
16
17[200]
18{
19  action_attempt: {
20    status: 'pending',
21    action_type: 'UNLOCK_DOOR',
22    action_attempt_id: 'e9339766-9bc4-4248-8482-acc1a8d3d4ae',
23    result: null,
24    error: null
25  },
26  ok: true
27}
28
29? Would you like to poll the action attempt until it's ready? › no / yes
Motivations for a Seam CLI
We’ve recently had a number of new Seamstresses & Seamates join us. Part of their onboarding consists of completing a set of challenges that require making use of the Seam API. During a recent onboarding session, we saw one of our new teammate struggle with setting up their development environment. This got us to think that there should be an easier way; that ideally you should be able to go from 0 to controlling an IoT device in less than 5 minutes. When we took a look at what it took to make this happen, it became fairly obvious that setting up an environment, writing queries, and learning the Seam API added way too much overhead.
So we thought to ourselves, “hey, why not just build a dead simple CLI that just handles everything for you. It will list the commands you can run; it will surface the parameters you can use; and it will make all the calls for you and show you the outputs.”
Launching the Seam CLI
After a solid weekend of hacking at this, we had an initial version ready to go. It’s packaged as an npm utility that you can install globally in your dev environment by just running npm install -g seam-cli. Pretty cool!
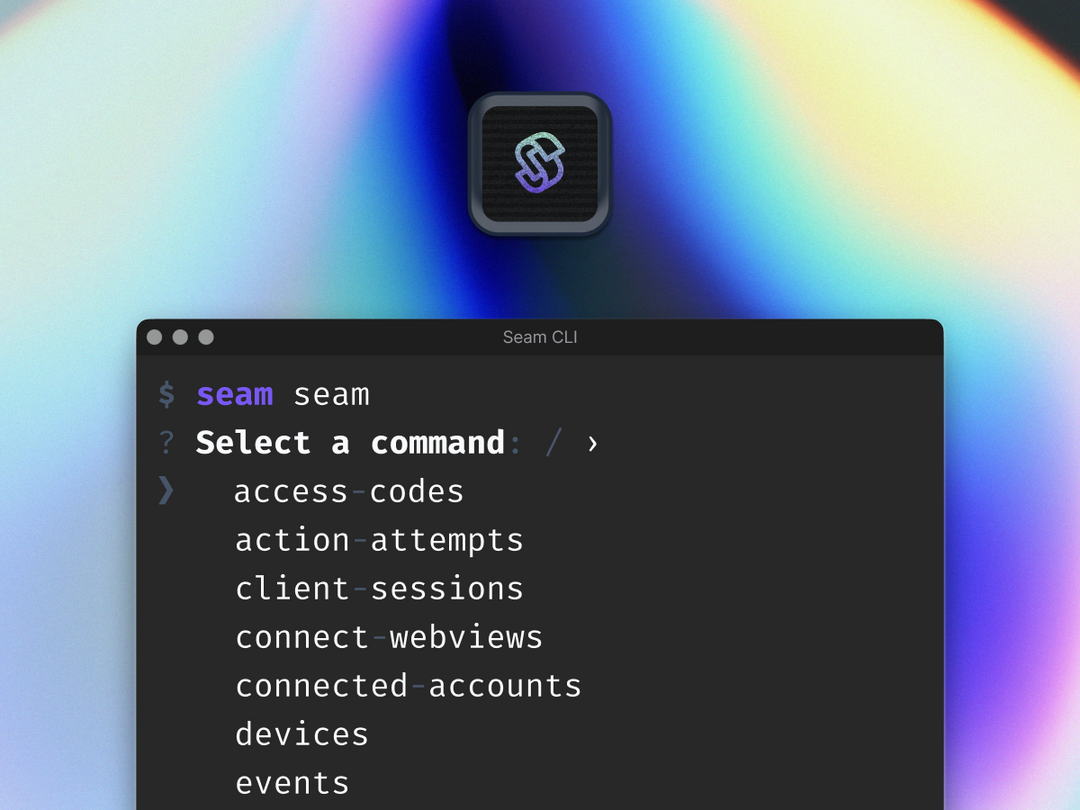
Except we thought that having to install npm still consumed too much time and would suck precious seconds away. Hence came the idea to go a step further and provide a fully ready-to-go environment directly in a web browser. You can access it from console.seam.co in the left nav menu.
What’s Next
The entire project is available on Github. It’s still a beta project and we very much appreciate any bug report, feature request, and anything you think can make the Seam CLI awesome!